

We recently opened up a wall between our tiny kitchen and our living room. This allowed space for a larger table. When we first moved into this house I built us a sort of mini kitchen table with benches to save on space. It was barely big enough for the four of us to gather around for meals, leaving no room for the food serving dishes on the table. It was a constant buffet style around here! So, with the wall opened up and more floor space to work with I opted to build us a brand new table! I'm always eyeing those large work table style islands that I come across in consignment and antique shops around here. they seem so sturdy and the aesthetics are just perfect, functional and seeming to belong in a cottage, which is basically what we have here! So I got to work designing up something similar, but table height. This is a tad taller than our other table, since I do use our table as a work surface all the time. It's like another counter, but shorter... So, alongside my art I also build furniture. Now you know!

I like the look of the apron wrapping around the legs, so I worked that into the layout of this table. I used 2 1/2 inch lag screws to secure the aprons to the legs. Behind the "decorative" aprons, however, are 2 x 3 stud lumber to really secure the legs. I also wanted this table to have extensions. I built it to be 5 feet long, but wanted the capability of extending it even more for when we have guests. So, I notched the aprons to accommodate two pull outs for extensions on either side, adding around 2 feet total to the length of the table. I haven't attached the top pieces for the extensions yet, but will most likely do a hinged top piece from the table top.

This is the largest project I've completed so far. I've built taller things, but nothing as large or as heavy as this table! It definitely required two bodies to move this table frame into our kitchen. I assembled the table top separately and brought it in after the frame was in the kitchen. Many thanks to a wonderful husband who supports these hobbies of mine!

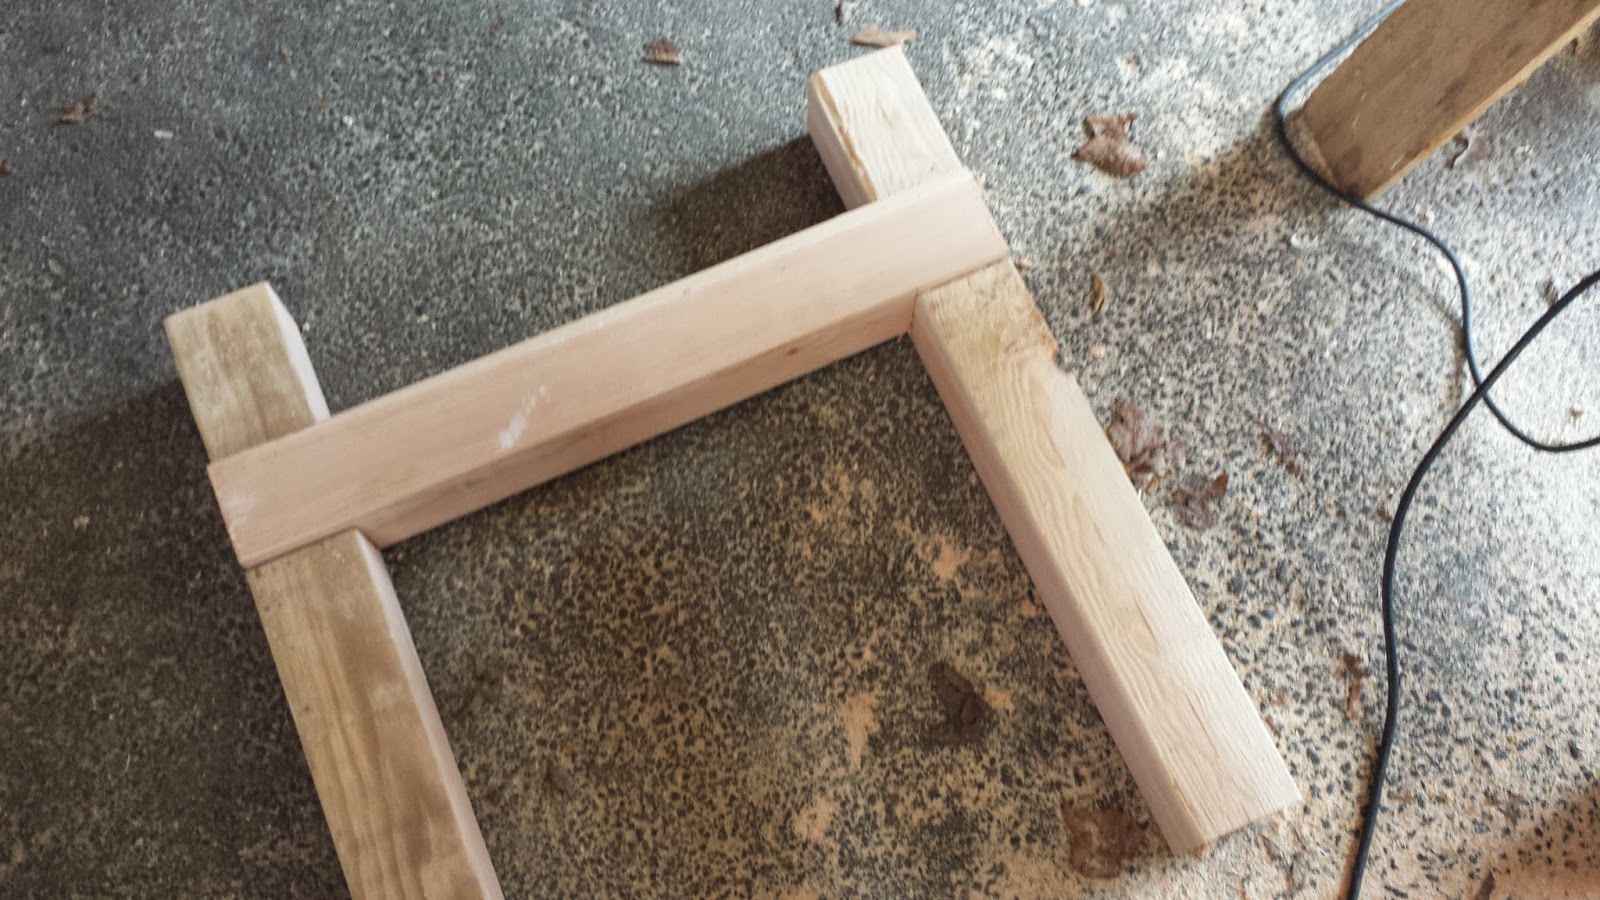
The largest learning curve on this project for me was figuring out the notches for the 4 x 4 table legs. Initially I thought I'd use 2 x 4's for the cross brace between the end table legs, but when I had made the initial notches in the legs they were a little too big and the 2 x 4's looked funny with the extra space around them, so I decided to use the left over 4 x 4 lengths for the cross braces. I was more careful the second time around and in the end they fit together snug as can be. This was my great wood working technique success on this project, and incidentally my favorite part of the table! The boys even stand on them and I have no fears! Super sturdy and secure. They are also secured with lag screws through the back of the each leg...


Mostly I'm just happy to have a bigger space for us to sit around and eat, talk, play, and create! It's a wonderful warm wood feel, giving us room to spread out a bit, and a bigger place for drying the dishes! Already it's a treasure to me, and I hope it will be our family table for the remainder of time! Maybe I'll even pass it on to one of the kids in my old age...